
Welcome back to my blog!
I recently reviewed the X-pression pre-stretched 52-inch Ultra braid on my Youtube channel.
Join me as I take you through the process of creating jumbo box braids with curly ends using this braiding extension. Let's dive in!
Product Overview
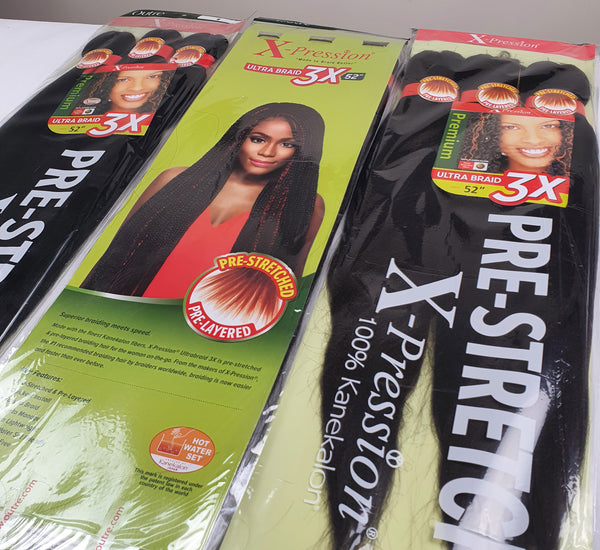
The X-pression pre-stretched 52-inch Ultra braid is available in a pack of 3 bundles, offering a variety of colors. The shade I used to create my style is color 4, a beautiful brownish black hue. Upon opening the package, I noticed that the hair is incredibly soft straight out of the pack. It's easy to run your fingers through it without encountering any tangles, and it feels remarkably lightweight.
Creating the Jumbo Box Braids
To begin, I decided to try my hand at jumbo box braids with curly ends. This was my first time attempting this style, so I wanted to share the process with you.
STEP 1: PARTING
I began by parting my hair into the braid sections. I used gel to achieve cleaner parts.
I've learned a helpful YouTube hack for faster braiding, which involves using a slap band to hold the gel. I use the yellow Shine n Jam gel for this purpose, even though I'm not particularly fond of using gel except for when installing braids.
After applying the Shine n Jam gel, I combed it through my hair to ensure a slick and neat base. As a beginner braider, I find it easier to tie the base before starting the braiding process. Knotless braids are a bit more advanced, so I'm not quite ready for them yet.
Next, I applied additional gel to the length of the hair to further slick it down and created a two-strand twist for added ease.
STEP 2: BRAIDING
The X-pression pre-stretched 52-inch Ultra braid is available in a pack of 3 bundles. I divided each of these 3 bundles into 5 smaller sections, each of which I used to create a single braid. So each pack of this hair gave me 15 braids and I had a total of 27 braids on my head.
For each braid, I split the portion in half but not completely, aiming to have three tails. I tucked my natural hair into one of these tails and pulled the other two tails tightly around it to secure it. Then, I began braiding.
After completing the braids, I trimmmed the ends and proceeded to curl the hair. I used foam rollers, opting for the second-largest size available. Once I curled the hair around the rollers, I dipped them in hot water and thoroughly dried them.
Voila! The end result is a stunning set of jumbo box braids with curly ends. Although there is always room for improvement, especially as a beginner braider, I am happy with the outcome I achieved.

Maintenance
I wore these braids for six weeks, and I could have worn them longer if I hadn't wanted a style refresh! They still looked so good!
This is how I keep my braids looking so fresh:
1. First, I apply Garnier Fructis hair food to my scalp, which serves as an excellent leave-in conditioner for my 4C hair.
2. Moving on to the braids, I spray the Aussie Miracle Curls Curl refresher and work it through the hair. To add further shine and sleekness, I use Garnier Fructis Sleek and Shine, ensuring it is evenly distributed.
And there you have it! Maintaining these braids is quite simple, you can keep them looking fabulous even after weeks of wear.
You can watch the full review here.
Join me next week for another review!